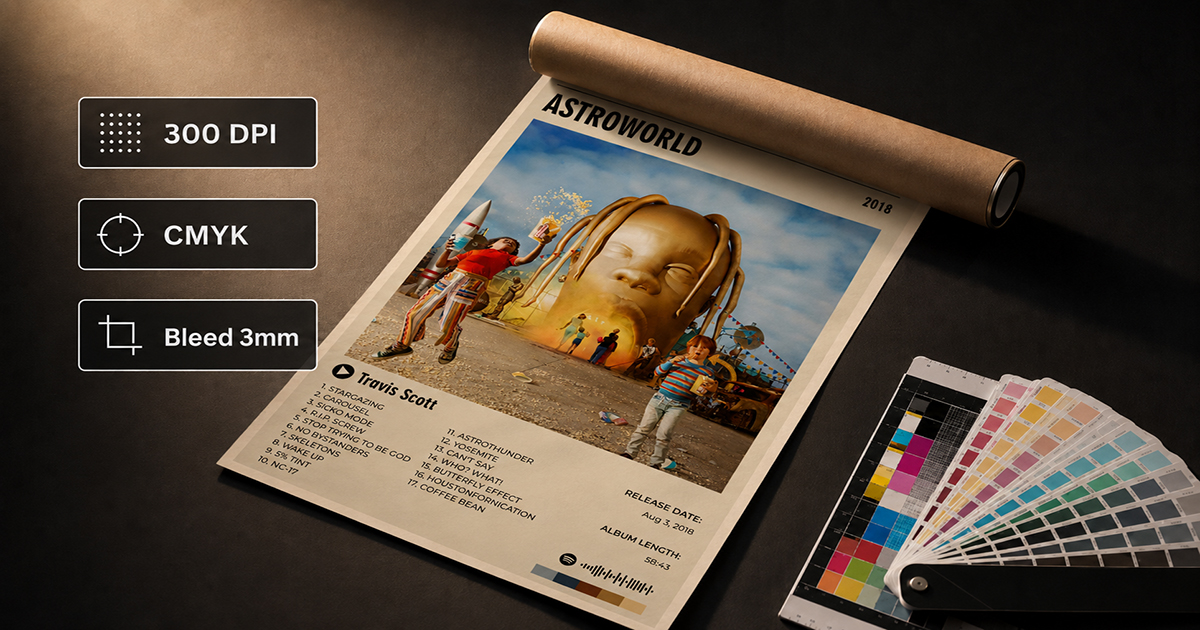
How to Export a Print-Ready Poster: DPI, CMYK, and Bleed Explained
You've spent time designing your album poster. The layout is solid, the fonts are right, the cover art looks great on screen. You click export — and then you hit a wall of options you don't understand.
DPI. CMYK. Bleed. PDF/X. Color profiles.
This guide explains exactly what each term means, why it matters, and which settings to use so your poster prints the way it looks on your screen.
DPI: Why Your Poster Can Look Sharp on Screen and Blurry in Print
DPI stands for dots per inch — the number of ink dots a printer places in each inch of the printed output. More dots = more detail = sharper print.
The three DPI levels you'll encounter
72 DPI — Screen resolution
Every image you see on a monitor is typically 72 DPI. A 1920×1080 pixel screen image at 72 DPI would print at about 26×15 inches. That sounds large, but the actual pixel count is too low — the print will look soft and slightly blurry when you get close.
Use 72 DPI for: digital display only (Instagram, website, sharing online). Never for print.
150 DPI — Acceptable print quality
At 150 DPI, prints look sharp at normal viewing distance (1–1.5 meters). Fine for A4 and A3. At A2 and above, you may notice softness if you stand close.
Use 150 DPI for: A4 and A3 posters, home printing, casual print shop orders where you won't examine the print up close.
300 DPI — Professional print standard
300 DPI is the industry standard for professional printing. At this resolution, text is crisp, album art is detailed, and the print holds up to close inspection at any standard poster size.
Use 300 DPI for: anything A2 or larger, any poster going to a professional print shop, anything you want to look genuinely good.
The pixel math
To print at 300 DPI at A3 size (11.7×16.5 inches):
11.7 × 300 = 3510 pixels wide
16.5 × 300 = 4950 pixels tall
Your exported file needs to be at least 3510×4950 pixels. If you're exporting from PosterVibe at 300 DPI, this is handled automatically.
CMYK vs RGB: The Color Mode That Changes How Your Poster Looks
RGB (Red, Green, Blue) is how screens display color — by mixing light. Every image on your phone, laptop, or monitor is RGB.
CMYK (Cyan, Magenta, Yellow, Key/Black) is how printers apply color — by mixing ink. Professional print presses use CMYK.
Why this matters for your poster
If you design in RGB and send an RGB file to a print shop, their equipment converts it to CMYK automatically. This conversion usually works fine — but it can cause color shifts:
- Bright greens often shift toward yellow-green
- Vivid blues can become duller
- Neon or screen-specific colors that have no CMYK equivalent are approximated
For most album posters, the color shift is small enough that you won't notice. For posters where color accuracy is critical — album art with highly saturated reds, specific skin tones, or important brand colors — export in CMYK to control the conversion yourself.
When to use CMYK
- Any order going to a professional print shop or offset printer
- Posters where specific colors need to be accurate
- Anything going to a print-on-demand service that explicitly requests CMYK
In PosterVibe: CMYK export is available on the Pro plan. If you're printing at home or ordering from a consumer print service (Printful, Canva Print, etc.), RGB at 300 DPI is typically fine.
Bleed: The Extra Border That Prevents White Edges
Bleed is the single most common thing people forget, and the one that causes the most frustrating results.
What is bleed?
When a print shop trims your poster to size, the cutting blade can't be perfectly precise — it may vary by 1–3mm in either direction. If your design goes right to the edge of the canvas with no extra margin, a slight miscut leaves a thin white border on one or more sides.
Bleed solves this by extending your design 3–5mm beyond the actual edge. When the printer trims the paper, they cut into the bleed area — and the design still runs edge to edge with no white border.
When you need bleed
- Any design where the background color extends to the edge of the poster
- Full-bleed photographs or album art that fills the entire canvas
- Any design without a visible white border
When you don't need bleed
- Designs with a white or light-colored border built in (the border itself acts as the safety margin)
- Digital-only output (bleed is purely a print concern)
Standard bleed dimensions
| Use Case | Bleed Amount |
|---|---|
| Home printing | 0mm (home printers don't trim) |
| Online print services | 3mm (check their specific requirements) |
| Professional print shops | 3–5mm |
| Large format / banner printing | 5–10mm |
In PosterVibe: The Pro plan export includes bleed mark options. When ordering from a print shop, ask for their bleed specification — most want 3mm, some want 5mm.
PDF vs PNG vs JPEG: Which Format to Export
JPEG
Compressed image format. Some quality loss due to compression. Good for sharing online. Not ideal for professional printing because the compression can introduce visible artifacts in gradients and sharp edges.
Use for: Online sharing, social media, previewing designs.
PNG
Lossless compression. No quality loss. Supports transparency. Larger file size than JPEG.
Use for: Digital display, web use, any situation where you need transparency.
PDF
The industry standard for print-ready files. Contains full resolution data, can embed color profiles, supports CMYK, handles bleed marks correctly. This is what print shops expect.
Use for: All professional printing. Always export PDF for anything going to a print shop.
PDF/X (specifically PDF/X-1a or PDF/X-4)
A subset of PDF designed specifically for print production with stricter standards for color management and font embedding. Some professional print shops and commercial printers require this.
Use for: Commercial printing, high-volume print runs, any professional printer that specifically requests it.
Step-by-Step: Exporting from PosterVibe
For online sharing (free plan):
- Click Export in the top toolbar
- Select JPEG or PNG
- Resolution: 72 DPI
- Download
For home printing (Basic plan):
- Click Export
- Select PDF
- Resolution: 150 DPI
- Color mode: RGB (fine for home printers)
- Download
For professional print shop (Pro plan):
- Click Export
- Select PDF
- Resolution: 300 DPI
- Color mode: CMYK
- Enable Bleed marks (3mm)
- Download
Hand the PDF directly to your print shop. Tell them: "300 DPI PDF, CMYK, 3mm bleed." They'll know exactly what to do.
Quick Reference: Export Settings by Goal
| Goal | Format | DPI | Color Mode | Bleed |
|---|---|---|---|---|
| Instagram / social | JPEG/PNG | 72 | RGB | None |
| Home printer A4/A3 | 150 | RGB | None | |
| Print shop A3 | 300 | CMYK | 3mm | |
| Print shop A2+ | 300 | CMYK | 3mm | |
| 24×36 professional | 300 | CMYK | 5mm |
FAQ
My print came back with slightly different colors than my screen. Why?
Screens display in RGB using backlit color; print uses CMYK ink on paper. Some color shift is normal. To minimize it, export in CMYK before sending to print.
The print shop said my file resolution is too low. What happened?
You likely exported at 72 or 96 DPI instead of 300 DPI. Re-export from PosterVibe at 300 DPI and resubmit.
Do I need bleed if I'm printing at home?
No. Home printers don't trim the paper, so bleed isn't needed. Just make sure your design fits within the printer's margin area.
What's the difference between 300 DPI and 600 DPI?
600 DPI is used for very fine detail printing (business cards, fine art prints). For standard poster sizes, 300 DPI is indistinguishable from 600 DPI at normal viewing distances. 300 DPI is the correct choice for posters.